
The HyperX Vision S webcam delivers great quality video at up to 4K for PCs or Macs.
| Pros | Cons |
|---|---|
| Compact size | Magnetic lens cover is easily misplaced |
| PC and Mac Compatible | Ngenuity software is PC-only, and it’s quite buggy |
| Long braided cable makes it equally laptop and desktop-friendly | No integrated microphone |
 |
Buy The HyperX Vision S! | Buy On Amazon |
Score: 3.5/5
Webcams have had something of a renaissance in recent years for… well, do I really have to explain why a lot of people suddenly worked out about three years ago that the low resolution camera on their laptops probably wasn’t going to cut it any more?
That’s not the only area where a webcam better than the one in your laptop can make sense. There’s a huge market of game streamers who rely on selling their faces and reactions to in-game moments as part of their appeal, and for that, you don’t want murk and indistinct video.
HyperX is rather well known as a brand for gaming peripherals, so it’s perhaps only surprising that the HyperX Vision S is the company’s first foray into 4K webcams. It faces some serious competition — so how does it stack up?
Design
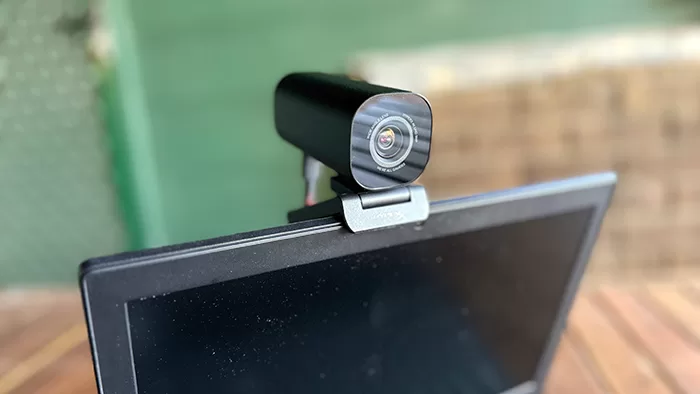
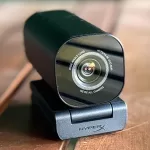
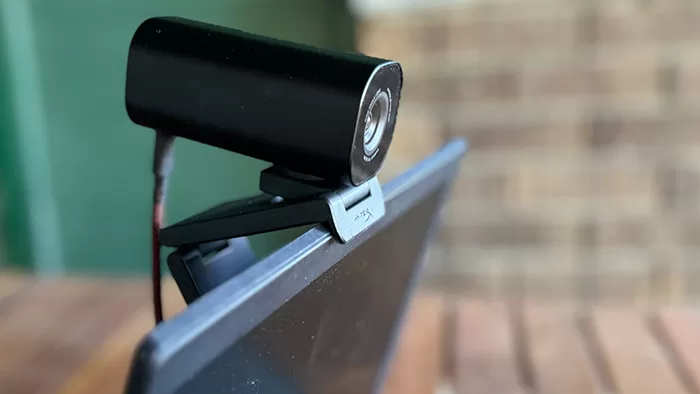
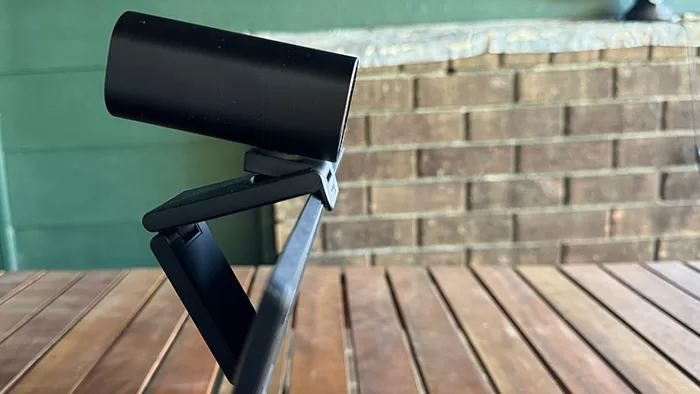
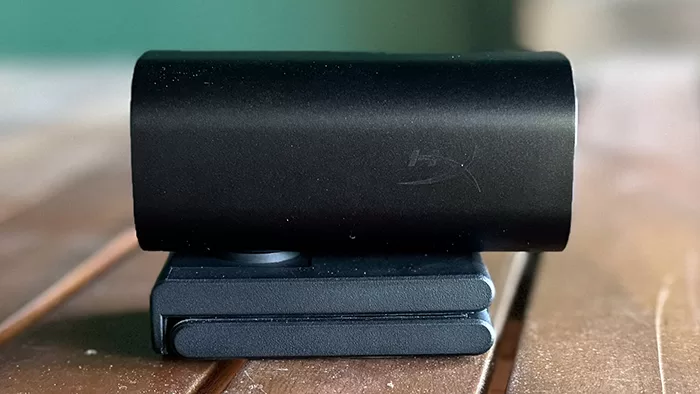
Taking the HyperX Vision S out of the box for the first time, I was struck by how little it looks like your traditional webcam. Most of them focus on showing off a lens in a slighty-reminiscent-of-DSLRs style, but instead HyperX has opted for a simple barrel shape with a folding stand/clip at the base. Without that clip, it would honestly look more like a small battery pack than a webcam.
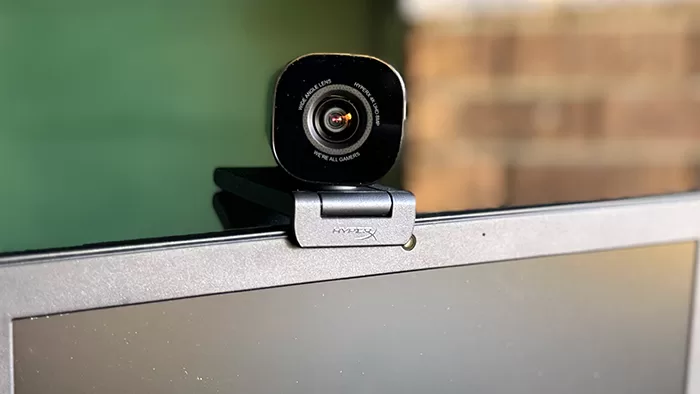
That’s largely because at first glance you’re not likely to pick where the webcam lens actually is. It’s hidden away by a removeable magnetic cover plate. It’s easy enough to remove, but it’s also very easy to misplace.
During my review period I’ve had to scramble around on my desk more than once to try to find it, which suggests that over a longer period it’s likely to simply get lost around here. Maybe that’s just me, but if you do favour privacy in your webcams, a model with an actually-attached lens cover might be a better bet,
The HyperX Vision S connects via USB-C, with a provided USB-C to USB-A cable with HyperX’s distinctive red braided cord wrap around it. It’s a nice length, such that I could use it equally well with laptops on my desk hooked up to an external monitor, or to the same monitor connected to a desktop on my floor.
Performance
The HyperX Vision S sells itself as being PC and Mac compatible, and that’s true… to an extent. Many webcams you can buy connect via USB, but getting them to even operate within Apple’s walled garden can be a challenging affair. No such issues with the HyperX Vision S, which was recognised as a suitable webcam by a MacBook Air M2 without fuss.
However, what you don’t get if you plug the HyperX Vision S into a Mac is access to HyperX’s configuration software, Ngenuity.
Like most gaming hardware makers, HyperX has its own suite application for handling configuration and firmware updates across its entire hardware line.
HyperX’s version of this is dubbed “Ngenuity”, and like most of them, I have a hate-hate relationship with it.
Yes, that’s right, I hate it for two separate reasons. Firstly, I hate that it’s Windows-only, though I do accept that this is highly representative of the market it mostly serves.
Then I hate the fact that while it does let you set a wide array of parameters, including frame cropping, exposure, HDR and lighting compensation it only does so when it actually feels like working.
Roughly 50% of the time I use Ngeunity with any HyperX gear connected, it tends to decide that while the device itself might be connected as far as Windows and other apps are concerned, it can’t see it at all.
It’s a knife that cuts both ways, too, because from time to time while testing, I’ve found myself unable to use the HyperX Vision S in a given app because it’s already in use… by Ngenuity, sitting there doing absolutely nothing at all, sometimes not even recognising that the HyperX Vision S is actually connected! The solution to that problem, if you hit it is to exit out of Ngenuity entirely.
This is extremely frustrating, but it’s not like it’s the first time I’ve tangled with Ngenuity in this way, and to be clear, I have many of the same issues with the all-in software approaches of many of HyperX’s competitors as well.
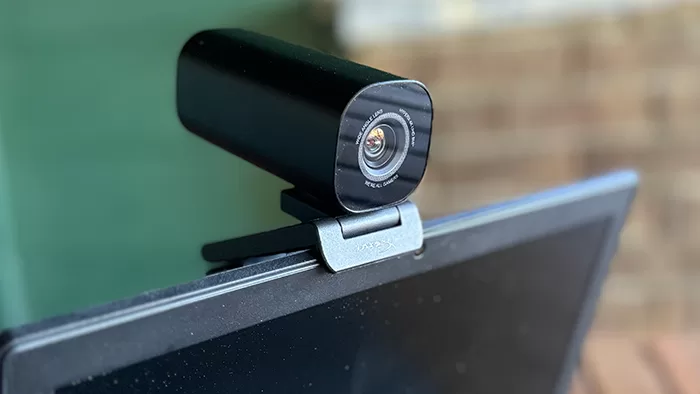
In quality terms, the HyperX Vision S works from an 8MP Sony STARVIS sensor, and if you’re like me, you’re probably wondering what a STARVIS sensor is, when it’s not sounding like an off-brand Avengers robot butler.
STARVIS is Sony’s branding for its range of high light sensitivity sensors built for security cameras. Without other applications in play the HyperX Vision S isn’t going to be your next big home security camera, but the advantage – at least on paper – is better low light representation and flexibility for shooting modes and pickup of images due to other lighting factors such as overexposure.
The HyperX Vision S supports shooting at up to 4K 30fps, or 1080p 60fps. My own testing found 1080p 60fps markedly better testing across a range of applications; for the kinds of streamers that the HyperX Vision S is pitched towards OBS is probably your obvious choice for variable quality rate capture, but as with any webcam, you’re free to do with it as you wish.
Using OBS, I found 4K on both PC and Mac tended to be just a touch glitchy even for local recording, with some more evident dropped frames, while 1080p/60 was nice and smooth.
Picking the source for that problem is a hard nut to crack, as while some will blame OBS, it can also be the limitations of the computer at the time of recording, as well as the limits around the USB interface… and then the camera itself.

The default for the HyperX Vision S is to use its full 90 degree lens, which is quite wide for most streaming applications. I think that’s preferable though, because you can always crop in tighter if you want, but you can’t go wider if a lens doesn’t look that wide.
Visual quality from a webcam is always variable depending on environmental factors, so to put the HyperX Vision S to the test, I used it with my home office both well lit and rather poorly lit to see what the differences would be.
Here’s a surprise: If you light yourself like garbage, you look like garbage. OK, no surprise at all, but in more challenging situations like having an open window behind me creating a lot of overexposure, the HyperX Vision S did fairly well. Comparatively against a Razer Kiyo Pro camera, it managed to capture more of my face in poor conditions, which is pleasing.
The HyperX Vision S also works rather nicely with Windows Hello if you favour a little biometric authentication to get your day started. On the Mac side of the fence if you’ve upgraded to MacOS Sonoma, it’ll even pick up the camera improvements for faux portrait modes and lighting native to the OS as well.
One feature that the HyperX Vision S notably lacks is any kind of integrated microphone. Admittedly, HyperX does have its own range of those, too, and that gaming streamer market does love a separate microphone. Still, if you wanted to take advantage of the HyperX Vision S’ greater portability, you’re going to have to pack your own mic on the go as well.
HyperX Vision S: Alex’s Verdict
If you just want the bare bones of a webcam, the HyperX Vision S is overkill. Go with what your laptop has got, or pick up something cheap and cheerful at the bargain basement end of the market.
There, however, you very much do get what you pay for… which is to say that you don’t often get much. The HyperX Vision S has a lot going for it to justify its asking price, given it’s flexible across operating systems and its output is generally very good.
HyperX Vision S: Pricing and availability
The HyperX Vision S retails in Australia for $359.
|
Buy The HyperX Vision S! | Buy On Amazon |

Minecraft Legends Deluxe Edition - Xbox Series S/X
$38.95 (as of May 20, 2024 03:27 GMT +10:00 - More infoProduct prices and availability are accurate as of the date/time indicated and are subject to change. Any price and availability information displayed on [relevant Amazon Site(s), as applicable] at the time of purchase will apply to the purchase of this product.)
Starfield - Xbox Series X
$49.00 (as of May 20, 2024 03:27 GMT +10:00 - More infoProduct prices and availability are accurate as of the date/time indicated and are subject to change. Any price and availability information displayed on [relevant Amazon Site(s), as applicable] at the time of purchase will apply to the purchase of this product.)
Nickelodeon All-Star Brawl - Xbox Series X
$19.00 (as of May 20, 2024 03:27 GMT +10:00 - More infoProduct prices and availability are accurate as of the date/time indicated and are subject to change. Any price and availability information displayed on [relevant Amazon Site(s), as applicable] at the time of purchase will apply to the purchase of this product.)
Metaphor: ReFantazio - Xbox Series X
$99.00 (as of May 20, 2024 03:27 GMT +10:00 - More infoProduct prices and availability are accurate as of the date/time indicated and are subject to change. Any price and availability information displayed on [relevant Amazon Site(s), as applicable] at the time of purchase will apply to the purchase of this product.)